Setup Visual Studio Code for Java Development.
Created: 31 March 2022 Modified:Opinionated directions on how to setup Visual Studio Code (VSCode) for developing in Java. Before we get started you will want to install a Java JDK such as Amazon Corretto. Also Microsoft provides detailed instructions on setting up VSCode for Java Development.
- Start Visual Studio Code (VSCode)
- Go to menu File -> Open Folder
- Select folder that contains your Maven Java project’s pom.xml.
- You might be prompted about whether you trust the authors of the code. Click yes you trust them if you do.
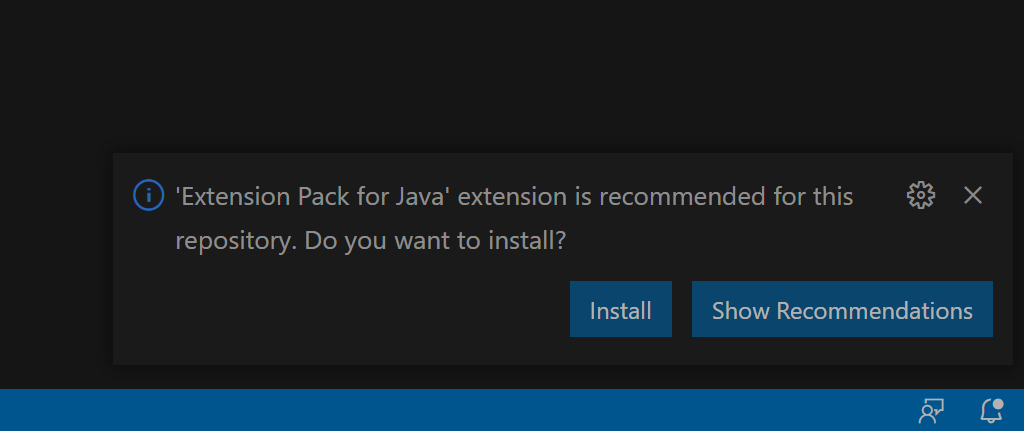
- A prompt in the lower right portion of VSCode should appear. Asking if you would like to install “Extension Pack for Java”.
- Click the Install button of the prompt.
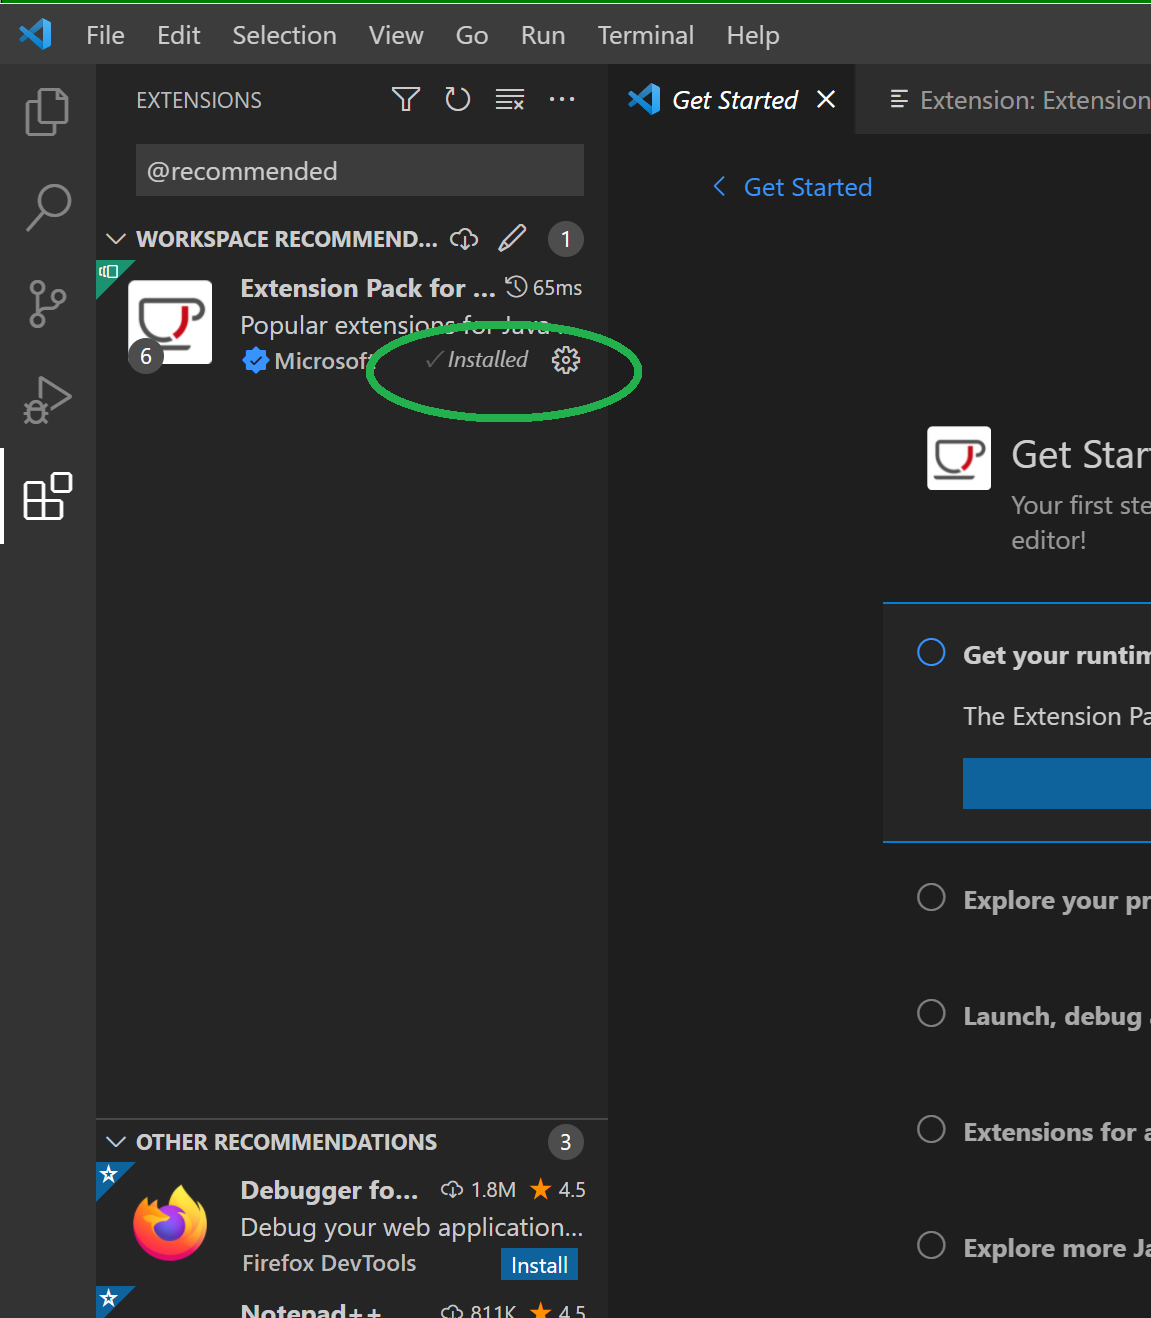
- The extension screens will appear. You want to look in the area in the top left. It will say installed once the Java extensions are installed. Similar to the following screen where it is circled in green. This process may take quite some time.
- A notification will appear in the lower right of VSCode about open java projects. This may error out or never complete. This is expected behavior requiring further configuration.
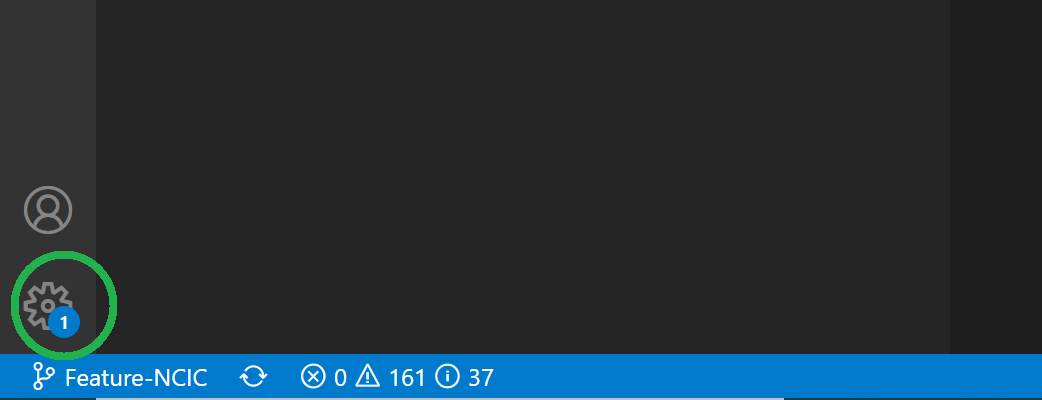
- Once the extension is installed go to the lower left of VSCode and select the Manage button. It looks like a gear.
- A popup menu will appear. Click the Settings menu item. The Settings tab will appear.
- Type “java.autobuild.enabled” in the Search Settings search box.
- Uncheck the checkbox next to Enable/disable the auto build.
- Close the settings window.
- Stop and Restart VSCode.
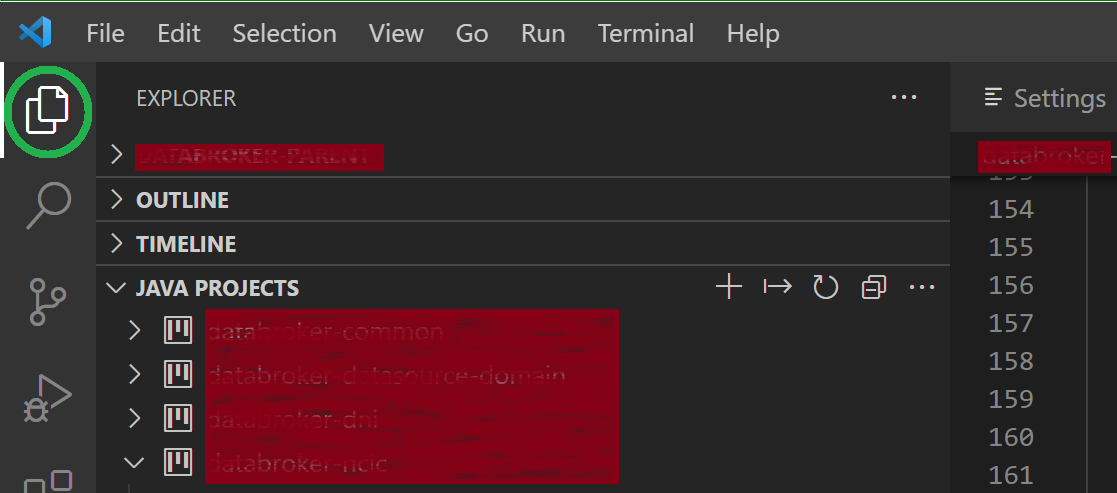
- When VSCode restarts it should look similar to the following.
- If you don’t see the code folders in the Explorer window. Click the explorer button located top left of VSCode.


